Reference Data
Categories, merchants, tags, and projects are the building blocks for organizing your expenses. Manage them all from Settings → Reference Data.
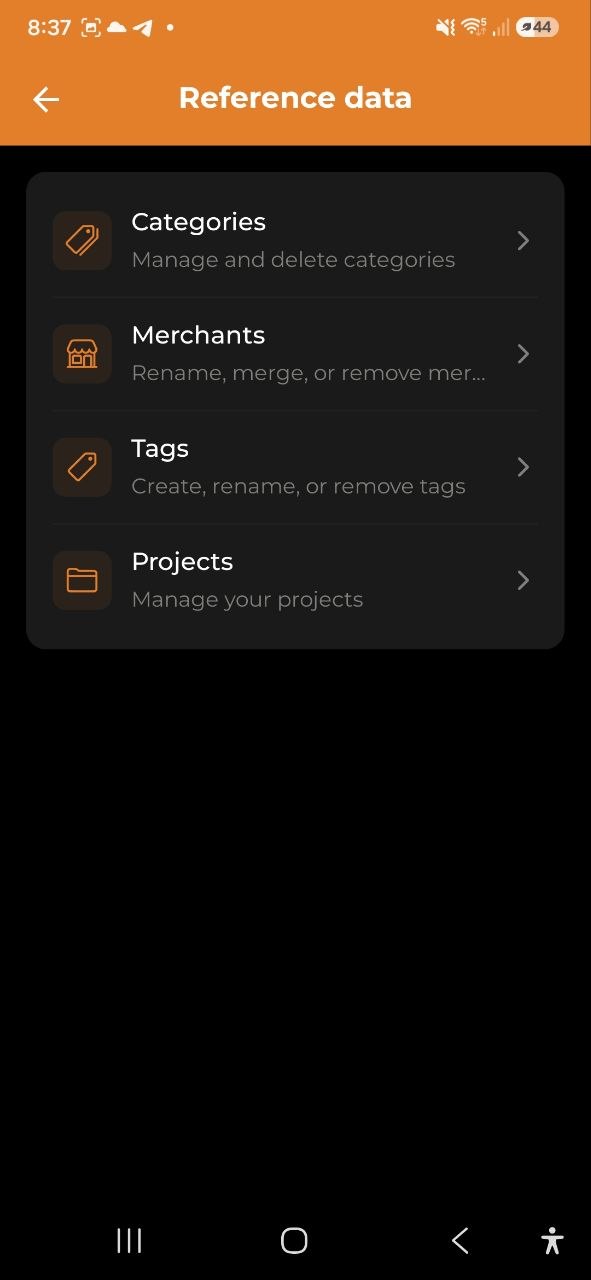
Overview
All four types of reference data are managed from a single hub in Settings. The interface is consistent: tap a row to edit, tap + to add, tap the trash icon to delete.
Viewer role: Members with Viewer access can browse reference data but cannot add, rename, or delete.
Categories
Categories classify your expenses and income. Each has a name and a color.
- Tap a category row to rename it or change its color
- Tap + next to “Expense Categories” or “Income Categories” to create a new one
- Tap the trash icon to delete a category
- Deletion is blocked if the category is in use by active expenses or budgets
- System (predefined) categories cannot be deleted
Tip: Use distinct colors for categories you want to spot quickly in charts.
Merchants
Merchants are created automatically when you add expenses — from manual entry, receipt scanning, or voice input. Use the Merchants screen to clean up duplicates or fix typos.
- Tap a merchant row to rename it
- Renaming merges all existing expenses with the old name under the new name (bulk update)
- Deleting removes the merchant name from all matching expenses (the expenses themselves are kept)
You cannot create merchants manually — they appear automatically as you add expenses.
Category rules
The app learns from your corrections. Every time you change the category of an expense that has a merchant name, a category rule is saved automatically. The next time you import a bank statement or Wise CSV containing that merchant, the app applies your rule and assigns the category without any manual fix.
- Learned rules appear in the Category rules section at the bottom of the Merchants screen
- Each row shows the merchant name and the category it maps to
- Tap the trash icon to delete a rule (the app will no longer auto-assign that category)
- Rules are stored on the server and sync across all your devices
Example: You import a Revolut statement and fix “AMAZON” → Shopping. Next month’s import automatically puts Amazon transactions in Shopping.
Tags
Tags let you label expenses with free-form keywords that cut across categories.
- Tap + to create a tag (enter a name and choose a color)
- Tap a tag row to rename it or change its color
- Tap the trash icon to remove the tag from all expenses
Tip: Use tags for short-lived tracking: “Business trip”, “Renovation”, “Gift budget”.
Projects
Projects group expenses by goal or activity — client work, travel, home renovation, and so on.
- Tap + to create a project (name, optional description, color, optional budget limit)
- Tap a project row to open its detail screen
- See all linked expenses, total spent, and budget remaining
- Use the pencil icon (top right) to edit the project
- Use the trash icon (top right) to delete it
- To link an expense to a project, open the expense and choose a project in the Project field
Tip: Set a budget on a project to track spending against a target and see the remaining amount.
See also: Expenses & Income | Analytics | Settings